
Brother LS 2125 User Manual: A Comprehensive Guide
This comprehensive guide details operation, setup, and troubleshooting for the Brother LS-2125 sewing machine, including warranty details and connectivity options.
Access the free online manual, explore authorized reseller programs, and learn about wireless network connections for seamless operation and support.
The Brother LS 2125 is a popular, computerized sewing machine designed for both beginners and experienced sewists. This user manual provides detailed instructions to help you unlock the full potential of your machine, ensuring enjoyable and successful sewing projects. It’s a versatile machine capable of handling a wide range of fabrics and techniques.
This guide covers everything from initial setup and threading to stitch selection, maintenance, and troubleshooting. Whether you’re a novice learning the basics or a seasoned crafter exploring advanced features, this manual will serve as your essential companion. You’ll find clear, step-by-step instructions accompanied by helpful diagrams to guide you through each process.
Furthermore, we’ll explore the machine’s connectivity options, including compatibility with Brother iPrint&Scan, and provide information regarding the XE5652001 warranty card and the Brother Authorized Reseller Program. This manual aims to empower you to create beautiful and lasting projects with your Brother LS 2125.
Key Features and Specifications
The Brother LS 2125 boasts a range of features designed for convenience and versatility. It includes a selection of built-in stitch patterns, offering options for various sewing applications, from basic straight stitches to decorative designs. The machine allows for adjustable stitch length and width, providing customization for different fabrics and project requirements.
Key specifications include a computerized operation, ensuring precision and consistency. It’s designed to work optimally with genuine Brother drum units and toner cartridges, maintaining performance standards. The machine supports both USB and wireless network connectivity (where applicable), enabling seamless integration with devices and software like Brother iPrint&Scan for PC/Mac.
The LS 2125 is also compatible with optional presser feet, expanding its capabilities for specialized techniques. It’s backed by a warranty, detailed in the XE5652001 warranty card, and supported by a network of Brother Authorized Resellers, ensuring reliable service and genuine parts.
Setting Up Your Machine
Initial setup involves unboxing, inspection, powering on, and basic operation familiarization. Proper threading—upper and bobbin—is crucial for optimal performance and sewing success;

Unboxing and Initial Inspection
Carefully unpack your Brother LS-2125 sewing machine, ensuring all components are present. Verify the package includes the machine itself, the power cord, the foot controller, a selection of needles, bobbins, a screwdriver, and this user manual. Inspect the machine for any visible damage incurred during shipping – look for dents, scratches, or broken parts.
Check all accessories against the included parts list. If anything is missing or damaged, immediately contact your Brother Authorized Reseller or Brother Customer Support. Retain the original packaging for potential returns or warranty claims. Before connecting the power cord, confirm the voltage selector switch (if applicable) matches your local power supply. A thorough initial inspection prevents future issues and ensures a smooth sewing experience.
Remove all protective packaging materials from the machine, including any foam inserts or plastic coverings. Familiarize yourself with the machine’s exterior components and their locations, referencing the diagrams in this manual.
Powering On and Basic Operation
Connect the power cord securely to the machine and a grounded electrical outlet. Ensure the power switch is in the “OFF” position before plugging in. Turn the machine on using the power switch, typically located on the side or back. The power indicator light will illuminate. Depress the foot controller to initiate sewing; the harder you press, the faster the machine will sew.
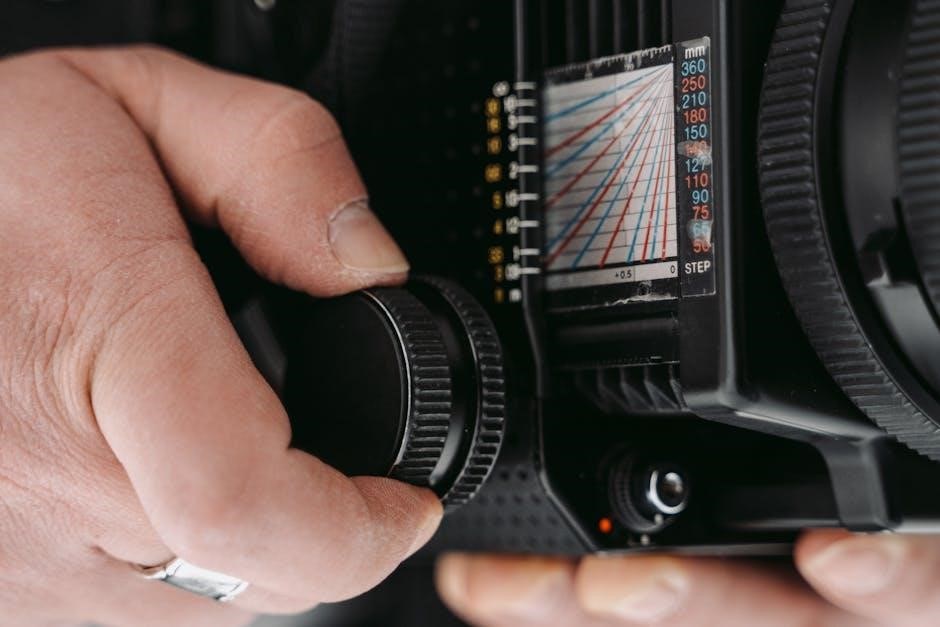
Familiarize yourself with the basic controls: the power switch, foot controller, and stitch selector dial. Begin with a test run using scrap fabric to observe the machine’s operation. Practice controlling the sewing speed with the foot controller. The reverse lever allows you to sew in reverse for reinforcement. Always keep fingers away from the needle while operating the machine.
Understand the handwheel; it allows for manual control of the needle’s position. Use it for precise stitching or when needing to carefully navigate fabric.
Threading the Machine
Proper threading is crucial for optimal sewing performance. Begin by raising the presser foot; this opens the tension discs. Guide the upper thread through the designated thread guides, following the numbered sequence indicated on the machine. Ensure the thread is securely seated in each guide. Next, thread the needle from front to back.
For bobbin winding, place the bobbin on the bobbin winder spindle. Engage the bobbin winder mechanism and start the machine using the foot controller. Allow the bobbin to fill evenly, then disengage the winder and trim the thread. Insert the bobbin into the bobbin case, ensuring it clicks into place.

Finally, draw up the bobbin thread by gently holding the upper thread and turning the handwheel towards you. Both threads should emerge through the needle plate.
Upper Threading Guide
Begin the upper threading process with the presser foot in the raised position. This disengages the tension discs, allowing for smooth thread flow. First, guide the thread through the spool pin, ensuring it unwinds freely. Next, follow the numbered threading path indicated on the machine’s exterior.
Carefully lead the thread through each guide, ensuring it seats properly within each component. Pay close attention to the tension discs; the thread must pass between them. Continue threading through the take-up lever, which moves up and down during sewing.
Finally, thread the needle from front to back. Use the needle threader, if needed, for easier insertion. Confirm the thread is securely held by the needle clamp before beginning to sew.
Bobbin Winding and Insertion
To wind the bobbin, place the thread spool on the spool pin and guide the thread through the tension disc. Then, thread the end through the bobbin winding tension disc and onto the bobbin. Secure the bobbin onto the bobbin winder spindle and push it to the right.
Engage the bobbin winder by pressing the bobbin winder lever. Gently depress the foot pedal to start winding. Once full, the winder will automatically stop. Remove the bobbin and trim the thread.
For insertion, open the bobbin cover and insert the bobbin into the bobbin case, ensuring it rotates in the correct direction (counter-clockwise). Guide the thread through the tension spring and then pull out a few inches of thread before closing the bobbin cover.

Stitch Selection and Adjustment
Explore diverse stitch patterns, easily adjust stitch length and width, and perform test sewing on fabric to achieve optimal results with your Brother LS-2125.
Understanding Stitch Patterns
The Brother LS-2125 offers a variety of built-in stitch patterns designed for diverse sewing projects. Familiarize yourself with each stitch to unlock the machine’s full potential. Straight stitches are fundamental for seams and topstitching, while zigzag stitches provide elasticity and are ideal for finishing raw edges.
Beyond these basics, the LS-2125 includes decorative stitches for embellishment and creative applications. These patterns range from simple scallops to more intricate designs, adding a personalized touch to your creations. Refer to the stitch chart within the user manual to identify each stitch’s purpose and recommended settings.
Understanding the stitch width and length adjustments is crucial. A shorter stitch length increases seam strength, while a wider stitch width creates a bolder zigzag. Experiment with different combinations to achieve the desired aesthetic and functionality for your fabric and project. Always test stitches on scrap fabric before sewing your final piece.
Adjusting Stitch Length and Width
Precise control over stitch length and width is essential for achieving professional-looking results with your Brother LS-2125. The machine features dedicated dials or buttons for adjusting these parameters. Stitch length determines the distance between each stitch; shorter lengths are ideal for delicate fabrics and increased seam strength, while longer lengths are suitable for basting or thicker materials.
Stitch width controls the breadth of zigzag stitches and decorative patterns. A narrower width creates a tighter zigzag, perfect for reinforcing edges, while a wider width produces a bolder, more visible stitch. Experimentation is key to finding the optimal settings for your specific fabric and project requirements.
Always test your adjustments on a scrap piece of fabric before commencing your project. Observe how different settings affect the stitch appearance and fabric behavior. Refer to the manual’s stitch chart for recommended length and width settings for various stitch patterns and fabric types.
Test Sewing and Fabric Selection
Before embarking on your project, test sewing is crucial to ensure optimal stitch quality and prevent potential issues. Utilize scrap fabric similar in weight and weave to your intended material. This allows you to fine-tune stitch length, width, and tension settings without risking your final piece.
Fabric selection significantly impacts sewing results. The Brother LS-2125 can handle a variety of fabrics, from lightweight cottons to medium-weight denims. However, specialized fabrics like silk or stretch knits may require specific needles and settings. Always consult the manual for guidance on appropriate needle types and tension adjustments for different fabrics.
Observe the stitch formation on the test fabric. Look for even stitches, proper fabric feed, and absence of puckering or looping. Adjust settings as needed until you achieve a satisfactory result. Proper fabric preparation, such as pre-washing, is also recommended to prevent shrinkage and distortion.
Maintenance and Troubleshooting
Regular cleaning and lubrication are vital for peak performance. Address common issues like needle breakage or thread jamming with the guidance provided in this manual.
Cleaning the Machine
Maintaining a clean sewing machine is crucial for optimal performance and longevity of your Brother LS-2125. Dust, lint, and stray threads can accumulate within the machine, causing malfunctions and affecting stitch quality. Regularly cleaning these areas prevents issues.
Before cleaning, always disconnect the power cord to ensure safety. Use a soft brush, like the one often included with the machine, to remove lint from the bobbin area, feed dogs, and around the needle plate. A small vacuum cleaner with a brush attachment can also be helpful for reaching tight spaces.
For stubborn lint, a slightly dampened (not wet!) cloth can be used. Avoid using harsh chemicals or abrasive cleaners, as these can damage the machine’s components. Pay particular attention to the needle bar area and the tension discs, ensuring they are free of debris. Consistent cleaning will keep your Brother LS-2125 running smoothly for years to come.
Oil Points and Lubrication
Proper lubrication is essential for the smooth operation of your Brother LS-2125 sewing machine. While modern machines are often designed to be relatively self-lubricating, periodic oiling of key components extends their lifespan and prevents wear. Always use sewing machine oil – never use general-purpose oils, as they can gum up the mechanism.
Refer to your machine’s diagram (often found inside the manual cover) to identify the designated oil points. Typically, these include the bobbin race, the hook assembly, and the motor shaft. Apply a small drop of oil to each point, ensuring it reaches the moving parts.
Avoid over-oiling, as excess oil can attract dust and lint. After oiling, run the machine briefly to distribute the lubricant. Regular oiling, combined with consistent cleaning, will ensure your Brother LS-2125 continues to perform reliably for a long time.
Common Problems and Solutions
Encountering issues with your Brother LS-2125 is common, but many are easily resolved. Thread bunching often indicates incorrect threading or improper tension adjustment – re-thread the machine and check the tension dial. Needle breakage can stem from using the wrong needle type for the fabric, a bent needle, or excessive sewing speed; replace the needle and adjust your speed.
If the machine jams, stop immediately, remove the bobbin case, and carefully clear any tangled threads. Ensure the bobbin is wound correctly and inserted properly. Skipped stitches may indicate a dull or damaged needle, or incorrect needle insertion.
Consult the full user manual for detailed troubleshooting steps and diagrams. If problems persist, contact Brother’s customer support or an authorized service center for assistance. Regular maintenance minimizes these issues.
Needle Breakage Issues
Frequent needle breakage on your Brother LS-2125 often signals a few key problems. Incorrect needle type is a primary cause; ensure you’re using a needle appropriate for the fabric weight and weave. Heavy fabrics require stronger needles, while delicate fabrics need finer ones.
Bent or damaged needles must be replaced immediately. Even a slight bend can cause breakage during sewing. Improper needle insertion is another culprit – verify the needle is fully inserted and correctly oriented. Excessive sewing speed, particularly with thick materials, can also strain and break the needle.
Thread tension that is too tight can contribute to breakage. Finally, forcing the fabric through the machine puts undue stress on the needle. Always let the machine feed the fabric naturally.
Thread Jamming Troubleshooting
Thread jamming on the Brother LS-2125 is a common issue, often stemming from improper threading. Re-thread the machine completely, ensuring the thread is seated correctly in all tension discs and guides – both upper and bobbin. A poorly wound bobbin can also cause jams; rewind it evenly and snugly.
Incorrect thread tension is a frequent cause. Experiment with slightly loosening the upper tension. Lint and debris accumulating in the bobbin area or thread paths can obstruct smooth thread flow, so clean the machine thoroughly.
Using the wrong type of thread or thread that is too old and brittle can also lead to jamming. Finally, ensure the presser foot is down while sewing, as this engages the tension mechanism correctly.

Advanced Features & Connectivity
Explore optional presser feet to expand sewing capabilities. The Brother LS-2125 offers compatibility with Brother iPrint&Scan, enhancing workflow and creative possibilities.
Using Optional Presser Feet
Enhance your sewing experience with a variety of optional presser feet designed for the Brother LS-2125. These feet unlock specialized techniques and broaden project possibilities beyond standard sewing. Consider the zigzag foot for decorative stitching and applying elastic, offering precise control and consistent results;
The buttonhole foot simplifies creating professional-looking buttonholes, ensuring consistent size and shape every time. For quilting enthusiasts, a quilting foot or walking foot provides even fabric feed, preventing shifting and puckering during layered sewing. A blind hem foot delivers nearly invisible hems, ideal for delicate fabrics and professional finishes.
Explore additional feet like the satin stitch foot, zipper foot, and rolled hem foot to tackle diverse projects with ease. Always refer to the Brother LS-2125 manual for proper foot installation and recommended settings. Utilizing the correct presser foot significantly improves stitch quality and overall project outcome.
Brother iPrint&Scan Compatibility
While the Brother LS-2125 is a sewing machine, understanding Brother’s iPrint&Scan software is relevant for users with broader Brother product ecosystems. iPrint&Scan is primarily designed for Brother printers, scanners, and all-in-one devices, offering mobile printing and scanning capabilities from smartphones and tablets.
Although direct compatibility with the LS-2125 doesn’t exist, iPrint&Scan can be invaluable if you utilize a Brother printer for pattern downloads or printing sewing project instructions. Download the application for PC or Mac to access scanning and workflow functionality, streamlining your creative process.
Access iPrint&Scan through the Brother Support website by selecting your product category and model. Ensure you download the correct version for your operating system. This software enhances connectivity within the Brother family, even if the LS-2125 itself doesn’t directly integrate. It’s a useful tool for a comprehensive Brother setup.
Wireless Network Connection (If Applicable)
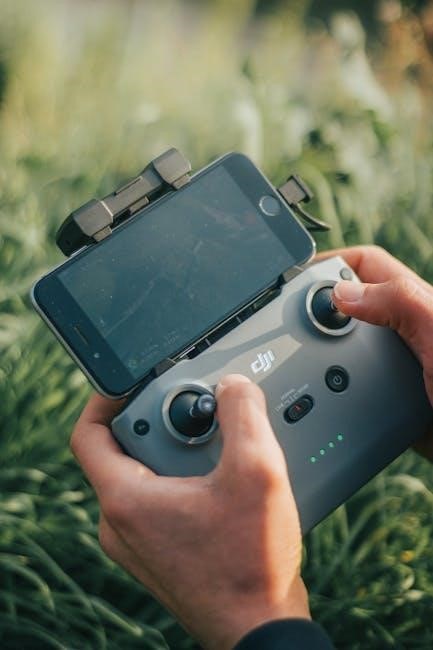
The Brother LS-2125 sewing machine does not possess built-in wireless connectivity features. Unlike modern Brother printers and all-in-one devices, this model operates independently of wireless networks. Therefore, direct connection to infrastructure or ad-hoc wireless networks is not possible.
This means you cannot directly control or monitor the LS-2125 via a smartphone app or computer network. All operations are performed manually through the machine’s physical controls. However, you can indirectly integrate wireless technology by using a separate Brother device – like a printer – to access and print patterns or project instructions.
Refer to Brother’s support resources for connecting other Brother machines to your wireless network. While not applicable to the LS-2125, understanding these procedures can be helpful if you own other compatible Brother products. The LS-2125 remains a standalone, traditionally operated sewing machine.

Warranty Information
The XE5652001 warranty card details coverage for your Brother LS-2125. Explore the Brother Authorized Reseller Program for support and genuine parts availability.
XE5652001 Warranty Card Details
The XE5652001 warranty card, included with your Brother LS-2125, outlines the terms and conditions of the manufacturer’s guarantee. This warranty typically covers defects in materials and workmanship under normal use for a specified period, often one year from the date of original purchase.
Important considerations include retaining your proof of purchase (receipt) as verification of the purchase date. The warranty does not cover damage resulting from misuse, accidents, alterations, or unauthorized repairs. It also excludes consumable parts like needles and bulbs.
To make a warranty claim, contact Brother Customer Service or an authorized Brother service center. They will guide you through the process, which may involve returning the machine for inspection and repair. Ensure the machine is properly packaged to prevent further damage during transit.
Review the complete warranty card for specific limitations and exclusions. Registering your machine online can streamline the warranty process and provide access to additional support resources.
Brother Authorized Reseller Program
The Brother Authorized Reseller Program is designed for businesses interested in selling Brother sewing machines, including the LS-2125, and related products. Becoming an authorized reseller offers numerous benefits, such as access to exclusive marketing materials, training resources, and competitive pricing.
Program participation typically requires meeting specific criteria, including demonstrating a commitment to customer service and maintaining a physical retail location or a robust online presence. Dealers also benefit from dedicated support from Brother’s sales and technical teams.
To apply, prospective resellers should visit the Brother website and complete the online application form. The application process involves providing business information and agreeing to the terms and conditions of the reseller agreement.
Authorized resellers play a vital role in providing customers with expert advice, local support, and genuine Brother products, ensuring a positive ownership experience with the LS-2125 and beyond.
Leave a Reply
You must be logged in to post a comment.